Introduction
There’s that dreaded sound every driver fears: the click-click-click of a car that just won’t start. Maybe you left your interior light on overnight, or perhaps cold weather zapped your battery’s power. Suddenly, your plans are on hold, and you’re stuck. But don’t worry! Knowing how to properly jump start a car is like having a superhero skill in your back pocket. It’s a powerful, time-saving trick that can get you back on the road in minutes, saving you the cost and wait for a tow truck. Think of it as the ultimate life hack for drivers. While new car gadgets like portable jump starters are revolutionary, the classic battery-to-battery method is a fundamental skill every car owner should master. This guide will walk you through the entire process, from identifying a dead battery to safely connecting the cables. Let’s turn that frustrating click into a happy vroom!
Table of Contents
What is Jump Starting a Car?
Imagine your car’s battery is like its coffee cup first thing in the morning—it needs energy to get going! Jump starting is simply the process of using energy from a healthy car battery (the “good Samaritan” car) to give your dead battery enough of a jolt to wake up and start your engine. It’s a temporary energy transfer that gets your car running so your alternator can take over and recharge the battery as you drive. It’s not a fix for a permanently broken battery, but it’s a fantastic emergency solution. Ever wonder if your car is smarter than your phone? Well, in this case, it can’t call for help on its own, so it needs you to be its hero!
Why You’ll Love Knowing How to Jump Start a Car
Learning how to properly jump start a car isn’t just about fixing a problem; it’s about gaining freedom and confidence on the road. You’ll love this skill because:
- It Saves You Money: Avoid the high cost of a tow truck or a service call, which can easily run over $100. That’s money you could spend on, well, anything else!
- It Saves You Time: Instead of waiting an hour or more for help to arrive, you can often solve the problem yourself in under 10 minutes. Your schedule stays on track.
- You Can Be a Hero: You won’t just be helping yourself. You can rescue a family member, a friend, or even a stranger in a parking lot. Being the person who knows what to do is an amazing feeling.
- It’s Empowering: Car trouble can make you feel helpless. Knowing how to handle a common issue like a dead battery puts you in control and reduces driving anxiety.
It’s a simple process that delivers huge rewards. Ready to explore more essential car care skills? Understanding your tire pressure or checking your oil are other great ways to become a more confident driver.
How to Use Jumper Cables: A Quick Overview
Using jumper cables is the classic method for how to properly jump start a car. It involves two vehicles parked close enough for the cables to reach both batteries. The process is a simple circuit: the good battery sends its power through the red (positive) and black (negative) cables to the dead battery, providing the necessary boost. The entire setup and process should take less than 15 minutes from start to finish. It’s designed to be user-friendly, though you must follow the steps precisely for safety. The key is ease of use combined with careful attention to the order of operations.
Key Features of a Successful Jump Start
A successful jump start isn’t just about connecting cables randomly. It’s a procedure built on a few key features:
- Safety First: The entire process is designed around preventing dangerous sparks and electrical surges.
- Color-Coded Cables: Jumper cables are almost universally color-coded with red for positive (+) and black for negative (-) clamps, making identification easy.
- A Clear Sequence: The specific order of connecting and disconnecting the clamps is the most important feature. It’s a fail-safe to protect both cars’ electrical systems.
- The “Donor” Vehicle: This is the car with the good battery. It needs to be a vehicle with a similar voltage system (almost all modern cars are 12-volt) and should be turned off during the connection process.
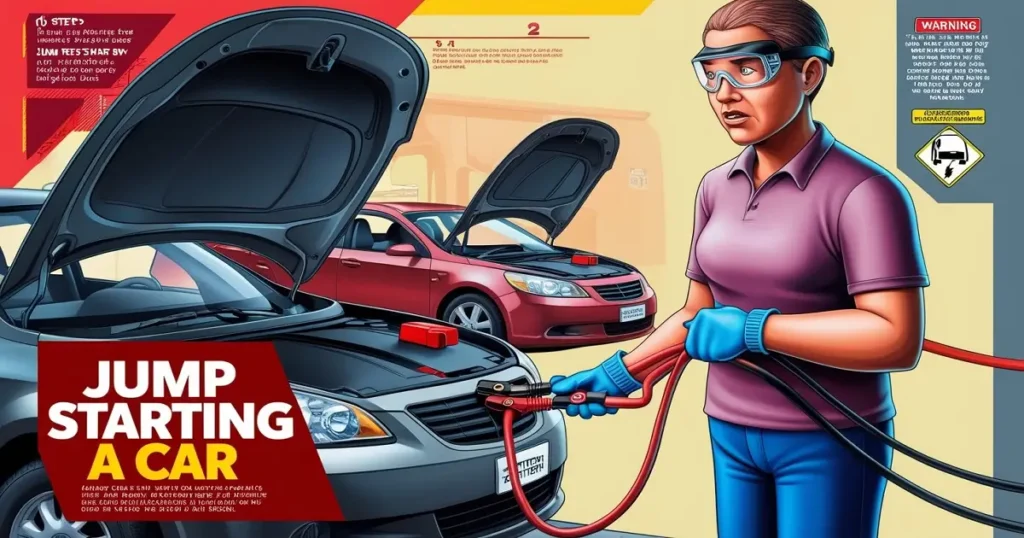
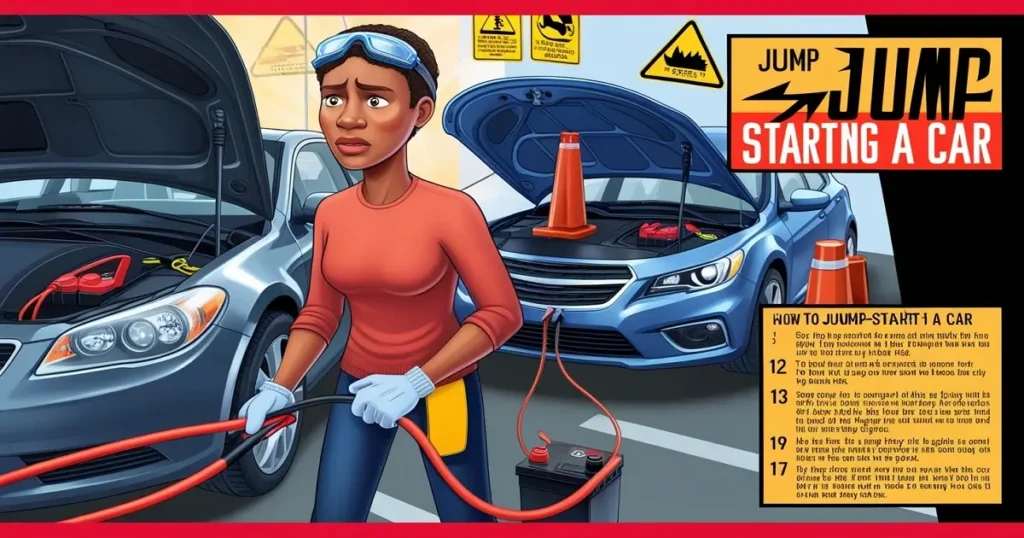
Step-by-Step Guide: How to Properly Jump Start a Car
Follow these steps carefully to ensure a safe and effective jump start. This is the core of how to properly jump start a car.
What You’ll Need:
- A set of jumper cables (the thicker the gauge, the better).
- A “donor” car with a fully charged battery that is the same voltage as yours (almost always 12V).
- Safety glasses and gloves (highly recommended).
- Your owner’s manual (for any specific instructions related to your vehicle).
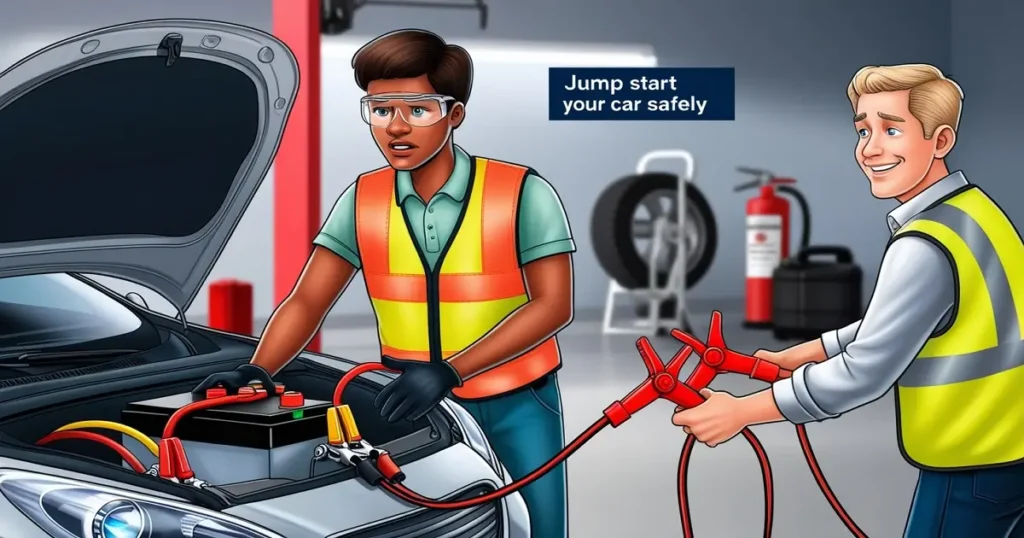
Step 1: Position the Cars Correctly
Park the donor car so its engine is as close to your car’s engine as possible. This allows the jumper cables to reach both batteries easily. Most importantly, ensure the cars are not touching each other. Turn off both vehicles, set the parking brakes, and put both cars in Park (or Neutral for a manual transmission).
Step 2: Locate the Batteries and Terminals
Open the hoods of both cars and locate the batteries. Identify the positive (+) and negative (-) terminals on each. They are usually clearly marked with red for positive and black for negative. Sometimes, a car battery might be hidden under a plastic cover or located in the trunk. Consult your owner’s manual if you can’t find it. Clean any obvious corrosion off the terminals if possible.
Step 3: Connect the Jumper Cables in the RIGHT Order
This is the most critical part. The order is designed to minimize the chance of a dangerous spark near the battery. Follow this sequence exactly:
- Connect RED to DEAD: Take the red (positive) clamp and connect it to the positive (+) terminal of the dead car battery.
- Connect RED to GOOD: Connect the other red (positive) clamp to the positive (+) terminal of the good car battery.
- Connect BLACK to GOOD: Connect the black (negative) clamp to the negative (-) terminal of the good car battery.
- Connect BLACK to METAL: This is the key safety step! Instead of connecting the final black clamp to the dead battery’s negative terminal, connect it to an unpainted, metal part of the car’s engine block or chassis. A bolt, bracket, or piece of clean metal works perfectly. This provides a ground and drastically reduces the risk of sparking near the battery, which could potentially ignite battery gases.
Step 4: Start the Donor Vehicle and Then the Dead Vehicle
Start the engine of the donor car with the good battery. Let it run for a few minutes. This allows energy to flow from its alternator into the dead battery. Then, try to start the car with the dead battery. If it doesn’t start immediately, wait another minute or two for more charge to build up and try again.
Step 5: If It Starts, Carefully Disconnect the Cables
Once your car starts, it’s time to remove the cables. It is vital to do this in the reverse order to avoid sparks.
- Disconnect the black (negative) clamp from the grounding point on your car.
- Disconnect the black (negative) clamp from the good battery.
- Disconnect the red (positive) clamp from the good battery.
- Disconnect the red (positive) clamp from your now-running car.
Be careful not to let the clamps touch each other or any metal surface while any part of the circuit is still connected.
Step 6: Keep Your Engine Running
Do not turn your car off! Drive your car for at least 15-20 minutes to allow the alternator to fully recharge the battery. If you turn it off too soon, you’ll likely be right back where you started and will need another jump.
What to Pair Your Jumper Cables With
While a classic set of jumper cables is a must-have, modern technology offers fantastic tools to pair with this knowledge to make the process even easier and safer.
- A Portable Jump Starter (Jump Box): This is the ultimate partner for your jumper cables. These compact, lithium-ion battery packs allow you to jump start a car all by yourself, with no need for a second vehicle. They are a game-changer for drivers. Many also come with built-in flashlights, USB ports to charge your phone, and air compressors.
- A Battery Terminal Cleaning Brush: Keeping your battery terminals clean from corrosion ensures a strong connection, making any future jump start more effective.
- A Multimeter: A simple digital multimeter can help you test your battery’s voltage to confirm it’s actually the problem before you go through the jump process.
- A Good Pair of Mechanic’s Gloves and Safety Glasses: Never underestimate the importance of personal protective equipment. Gloves protect your hands from acid and corrosion, and safety glasses protect your eyes from any potential sparks or battery bursts.
Top Tips for Mastering the Jump Start
Becoming a pro at knowing how to properly jump start a car means learning from the experts. Here are some top tips and common mistakes to avoid.
- Tip #1: Check Your Owner’s Manual First. Some modern cars have specific jump-starting procedures or specially designated terminals under the hood to protect sensitive onboard electronics. Always check the manual first.
- Tip #2: Invest in Quality Cables. Don’t buy the cheapest, thinnest cables you can find. thicker, heavier-gauge cables (e.g., 4-gauge or 6-gauge) transfer power more efficiently and are much more likely to succeed, especially in very cold weather.
- Tip #3: Avoid the Negative Terminal on the Dead Battery. We said it before, but it’s worth repeating: connecting the final black clamp to a grounding point instead of the negative terminal is the number one safety rule. Don’t skip it!
- Common Mistake: Letting the Clamps Touch. When the cables are connected to one battery, letting the positive and negative clamps touch each other creates a direct short circuit and can be very dangerous.
- Common Mistake: Jump Starting a Damaged Battery. If you see a cracked casing, notice a leaking fluid, or smell rotten eggs (sulfur), do NOT jump start the battery. It is damaged and could be dangerous. It needs to be replaced.
- Common Mistake: Revving the Donor Car Engine. There’s no need to rev the engine of the donor car. A normal idle is perfectly sufficient to provide the necessary charge.
How to Stay Updated with Car Maintenance
The world of car maintenance is always evolving, especially with the rise of electric vehicles (EVs) and more advanced electronics. Staying informed is the best way to be a prepared driver.
- Subscribe to Automotive YouTube Channels: Channels like ChrisFix, Scotty Kilmer, and Engineering Explained offer fantastic, visual guides for everything from jump starting to complex repairs.
- Follow Car Care Blogs and Websites: Sites like YourMechanic, Car and Driver, and J.D. Power publish regular articles on maintenance tips, new tools, and product reviews.
- Join Online Forums: Almost every car make and model has a dedicated online forum (e.g., Ford Truck Enthusiasts, BMW 3 Series Forum). These are treasure troves of specific advice from fellow owners.
- Sign Up for Newsletters: Many auto parts stores (like AutoZone and O’Reilly Auto Parts) and automotive blogs send out weekly or monthly newsletters with tips and promotional offers.
- Download Your Car’s App: Many manufacturers now have apps that provide maintenance reminders, vehicle health reports, and even remote start features.
Conclusion: You’re Now a Jump Start Pro!
A dead car battery doesn’t have to ruin your day. You are now equipped with the knowledge and confidence to handle this common roadside emergency safely and effectively. Remember, the secret to how to properly jump start a car is all about a calm demeanor, a good set of cables, and following the correct connection sequence. It’s a simple yet powerful skill that empowers you, saves you money, and allows you to help others. So, the next time you hear that dreaded click, you can smile, pop the hood, and get to work. Happy and safe driving!